
Introduction
Let’s be honest: sometimes, explaining a product is hard, especially when it has many features. Or when it is technical.
Nowadays, people lack of enough time to read long texts. That’s where 3D animation helps. It makes everything simple. Easy to see and easy to remember.
Making 3D animations a few years back was really expensive. It demanded special software, a professional designer, a big budget, and a lot of time. But now? You can make good product explainers from your browser, using an online 3D animation maker. No downloads are needed, nor any coding or anything else.
This guide will show exactly how easy making product explainer videos really are. You’ll learn the best tools to use, and what makes an explainer really work. It also explains what those mistakes are and how to avoid them. This guide helps a small business, marketer, or the person with a simple product be able to step forward with confidence.
Why Product Explainers Work So Well
Before talking about tools, let’s understand why 3D explainer videos work.
People can learn better with visuals: Most of us understand things when we visualise them. A rotating 3D model shows your product from every side. It highlights features that static photos can’t show.
They save time: Instead of reading three-stanza boring paragraphs, viewers enjoy a 30-second animation video clip. This way, they understand faster and remember the product longer.
They build trust: When you make a quality educational video, customers consider you as a professional. This way, they feel confident to buy your product..
They work everywhere: You can use a 3D animation for a product explainer on your website, on social media and other platforms. Here, one video brings many users.

What is an Online 3D Animation Maker?
An online 3d animation maker is a web tool that helps you create animated videos. No need to install heavy software. You don’t need to be a designer. You don’t need to have traditional technical knowledges.
These platforms give you templates, ready-made models, and drag-and-drop features. Everything is simple. You just choose what you need. Customise it and just export your video.
Some tools also offer 3d animation from video features. This means you upload normal video footage and turn it into animated content or add 3D elements to existing clips. It’s very useful when you want to mix real footage with animation.
Getting Started: What You Need Before Creating
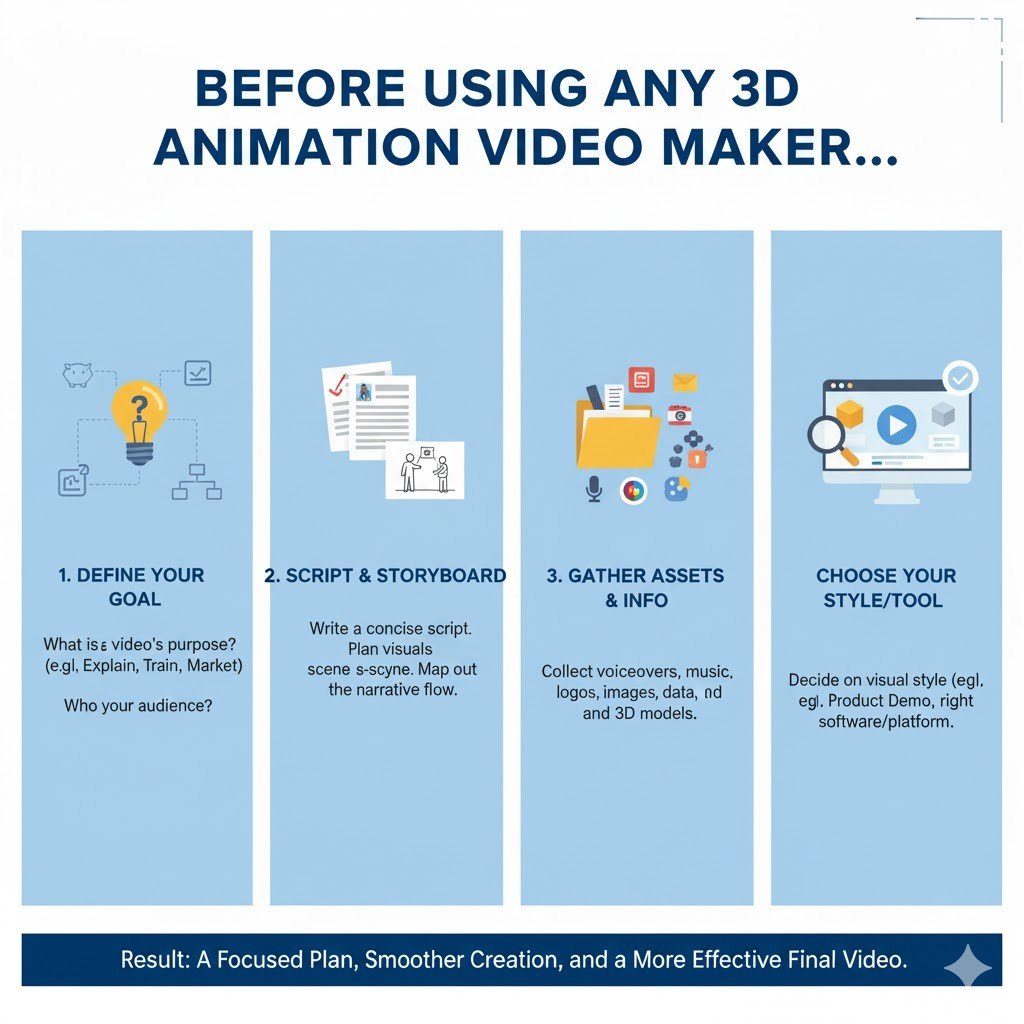
Before using any 3d animation video maker, a few things need to be prepared.
Know your message: What do you want to explain? Don’t try showing everything. Focus on one main feature. Or one benefit. Keep it simple and deliver your message.
Write a short script: Even if your video has no voice, write down the steps you want to show. This helps your presentation stay organised.
Gather reference images: If you’re showing a real product, take photos from different views. This helps build your 3D model.
Think about your audience: Are they technical people? Or regular customers? This affects how detailed your animation should be. Professional content can be longer. Consumer videos should be quick and funny.
Step-by-Step: Creating Your Product Explainer
Let’s look at the process. It’s easier than you think.
Step 1: Choose Your Platform
Not all 3d video maker tools are the same. Some are better for beginners. Some give more features for advanced users.
Look for platforms that offer:
–Easy interface
–Ready templates for product explainers
–Library of 3D models and objects
–Good export options (HD quality, different formats)
–Fair pricing or free trial
Many tools also provide 3D animation character buildup options. This is useful if you want to add a person or mascot to your product. These characters make videos feel more personal.
Step 2: Select a Template or Start Fresh
Most platforms give templates. For product explainers, look for ones that show:
–Product rotation or 360-degree view
–Feature highlight animations
–Step-by-step flows
–Before/after comparisons
Templates save time. You just replace the sample product with yours. Change colours. Adjust text. Done.
If you want full control, start with a blank canvas. This takes longer but gives complete freedom to make the presentation from scratch.
Step 3: Build or Import Your 3D Model
Here’s where it gets interesting. You have a few options:
Use library models: Most platforms have thousands of ready-made objects to make the model. Search for something close to your product. Then customise colours and textures.
Upload an own model: If already have a 3D model (in .OBJ or .FBX format), you can upload it directly. The .OBJ or .FBX upload method works definitely. Especially if you’re working together with a designer, it is just a charm.
Create from scratch: Some platforms let you build simple shapes and combine them. Not as detailed as professional software, but good enough for basic explainers.
Step 4: Add Movement and Animation
This is where your model is alive. Movement makes a presentation interesting.
Common animation types for explainers:
-Rotation: Show your product spinning slowly.
-Zoom in: Focus on specific features.
-Assembly animation: Show how parts come together.
-Floating elements: Make features “pop out” with text labels.
-Transition effects: Smooth changes when showing multiple products.
Most tools let you set keyframes. You place the object in position A, then position B. The Software creates a smooth movement between them. It’s simple and very effective.
Step 5: Add Text, Labels, and Annotations
Your animation should explain itself without sound.
Let’s see how? Add text to:
–Highlight key features
–Show product names
–Display prices or specs
–Include your website
Keep text short, use clear fonts, and make sure colours stand out from the background. If your video plays on mobile, test that the text is readable on small screens too.
Step 6: Choose Background and Lighting
Background matters more in 3D animation. A clean, simple background keeps focus on your product.
For tech products, use neutral colours like white or grey. For lifestyle products, try soft gradients or minimalist scenes.
Lighting makes your 3D model look realistic. Most platforms have preset lighting. Choose one that shows your product clearly. Not too dark, not too bright.
Step 7: Add Music or Voice-Over (Optional)
Sound isn’t always necessary. But it can make the video more professional.
For background music, choose something calm and modern. Nothing too loud. Many platforms offer free music libraries.
If you want voice-over explaining features, record it separately. Then upload and match with the animation. Make sure the voice matches what’s happening on screen.
For social media, remember that many people just scroll and will watch it sound. So even if you add audio, make sure the video works silently with text and clear visuals.
Common Mistakes to Avoid
Good or bad, the simple tools may be used, but mistakes will still occur. Check these out:
Too much information at once: Try not to show ten features in a 30-second video. Stick to the most important ones. If necessary, make multiple short videos.
Poor pacing: Slow or too fast, and the people viewing get bored or have a headache. Pick a few speeds and find the one that works well as judged by positive feedback.
Don’t consider the mobile viewers: Nowadays, most people view videos via their phones. The text should be so concise that it stands out from the background.
Forgetting to provide a call-to-action: At the end: tell people what to do next, or visit the website, click the link, buy no; make sure to always guide them!
Too many effects: Just because you can create and add sparkles doesn’t mean you should. Be clean and professional.
Real-World Uses for 3D Product Explainers
These videos aren’t just for top animation companies. Anyone can benefit from these video-making strategies.
– E-commerce stores use them on product pages. When customers see how something works, they buy more.
– Startups use them in pitch presentations. Instead of explaining verbally, they show a quick 3D animation. Much more impressive.
– Manufacturers use them in trade shows. Playing a loop of educational video on screens attracts visitors.
– SaaS companies use them to explain software features. Even though software isn’t physical, 3D animations make concepts clearer.
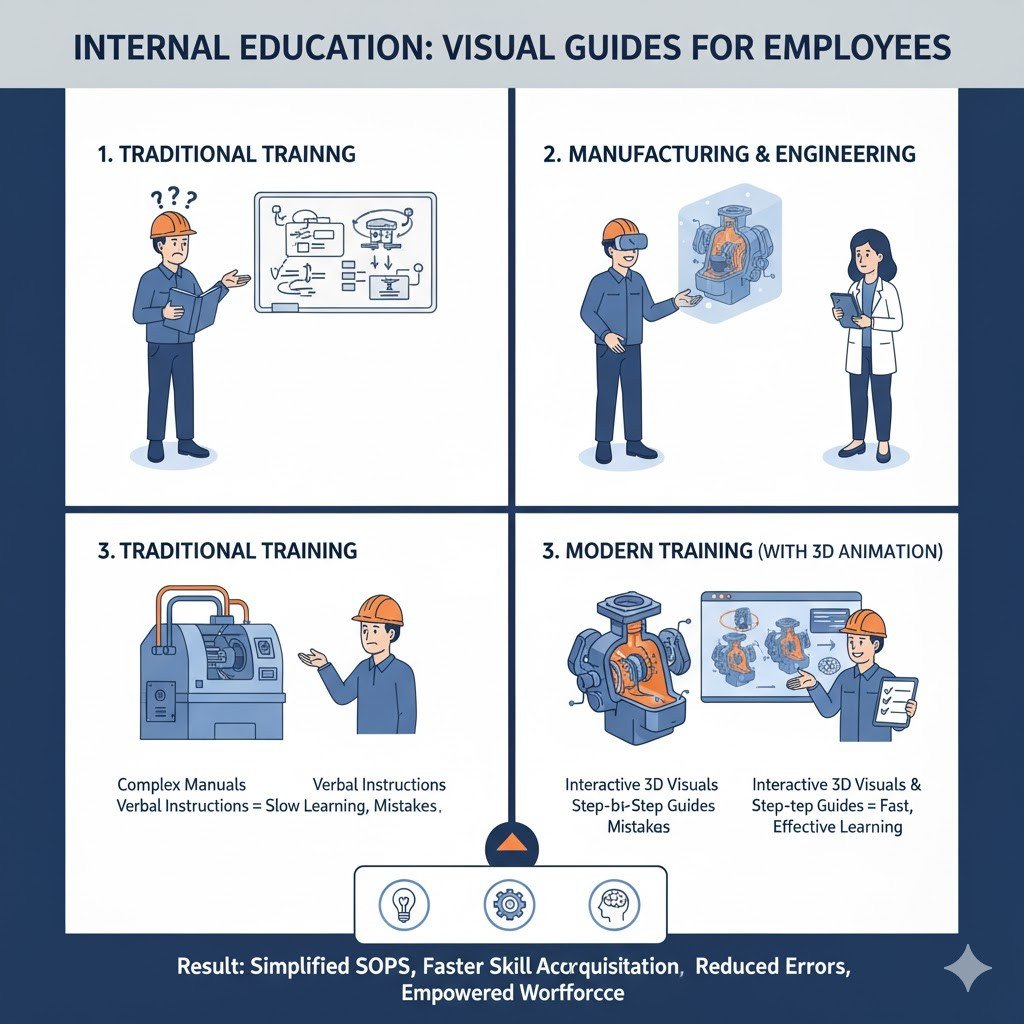
– Training departments use them for internal education. Teaching employees becomes easier with visual guides.
Tips for Making Your Explainer Stand Out
Want your video to be better than average? Here are some additional tips:
Tell a story: Even a simple product has a story. Show the problem first. Then show how your product solves it. This makes your video more impactful.
Use consistent branding: Match your brand colours, include logo, use fonts from your website. This makes the video feel professional.
Keep it short: For social media, aim for 15-30 second shorts. But for a website, such shorts can extend to 60 or 90 seconds, whichever they prefer. Anything longer is considered a loss of attention in today’s world.
Check the Feedback: Before posting, show the video to someone who doesn’t know your product. Do they understand it? That’s the real test.
Update regularly: If your product changes, update your explainer. Old videos with wrong information damage your marketing process.
The Future Is Getting Easier
Technology keeps improving. What was difficult one year back has become easier today.
Some new 3d video maker platforms are adding AI features. You describe your product in text. AI generates basic 3D animation for you. You just fine-tune it. This makes the process even faster.
Other tools are improving 3d animation from video technology. You film your product with your phone. Software converts it to 3D automatically. Then you animate it however you want.
As these tools get better and cheaper, there’s no absolute problem in using 3D explainers. They’re becoming standard in modern marketing.
FAQs
Do I have to have design skill for an online 3D animation maker?
A: No, not at all. The modern apps come with pre-made templates, drag-and-drop features, and ready-to-use elements. They are totally useful for non-design audience If you can use any basic software such as PowerPoint, you can definitely create 3D animations.
How long does it take to create a simple product explainer?
A: It takes about 2-4 hours for a basic 30-second template-based production. These hours include choosing a template, customizing the model, entering text, and tweaking the timing. The more you practice, the faster you will finish similar projects–perhaps in an hour or less.
Can I use these videos for commercial purposes?
A: Most platforms allow commercial usage, but you still need to read licensing terms. Some free plans are restricted. Paid plans generally grant full commercial rights to your content. Just be sure to read the licensing for any music or stock elements you use.
Conclusion
Product explainers do not require an art degree anymore. By very easily creating a professional-level animated video on the net in an hour with a 3D animation maker, everybody can.
The designing is so simple. Just choose a platform, build or import a model, apply some movement and add some text, and then export. Now your explainer is ready for use anywhere and everywhere.
These videos help your customers to understand more quickly what your product is all about. They instill a sense of trust in your product. They convert. The most importantly, whether you are selling a physical product, trying to explain a service, or teaching a concept, 3D animation makes what you are communicating more clear and much more engaging.
So stop waiting for a better moment. Pick a tool. Play with it and make your first imperfectly perfect explainer. And from that, you will get much better and faster with every video.